
Are you ready to add a spine-chilling touch to your Halloween treats? Ann from The Chocolate Belles has a delightful DIY for you! Get your spooky creativity flowing as we dive into making delectable Tombstone chocolates, perfect for Halloween parties and haunted celebrations.
Tools and Products Needed:
- Milk chocolate (melted) in a squeeze bottle for precise filling.
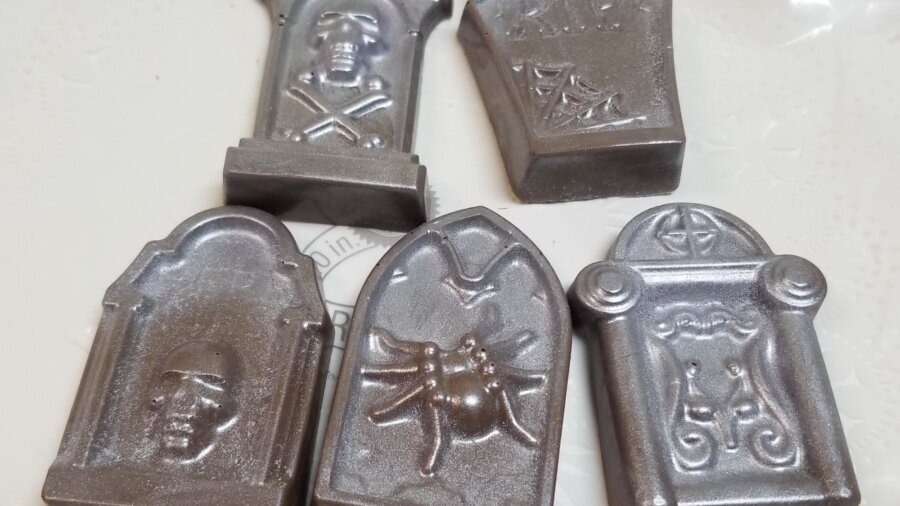
- Tombstone-shaped molds (skeletons, “Rest in Peace,” spiders, etc.).
- Freezer for setting the chocolates.
- Iris Mauve Edible Luster Dust from The Chocolate Belles for the eerie gray color.
- Brush for dusting the Luster Dust.
As Ann expertly demonstrates, it’s essential not to overfill the molds. Underfilling slightly is better than trimming later, ensuring your tombstones maintain a polished and realistic appearance. Once filled, pop the molds into the freezer for around 10 to 12 minutes, allowing the chocolate to set.
Now comes the fun part – adding a spooky gray color to your tombstones! Ann introduces a fantastic hack using Iris Mauve Edible Luster Dust from The Chocolate Belles. Simply dust it dry onto the chocolate to achieve that eerie cemetery look. For a more intense shade, you can use a clear liquor like vodka, which evaporates, ensuring an edible and non-alcoholic outcome.
With this easy method and the right tools, you’ll have a collection of hauntingly delightful tombstones ready to be displayed or shared with friends and family. So, why not indulge your creative spirit this Halloween and create these edible masterpieces? Thanks to Ann’s ingenious tips and the essential tools, you’ll have everyone wondering how you conjured up such spooky delights! Happy haunting! ??